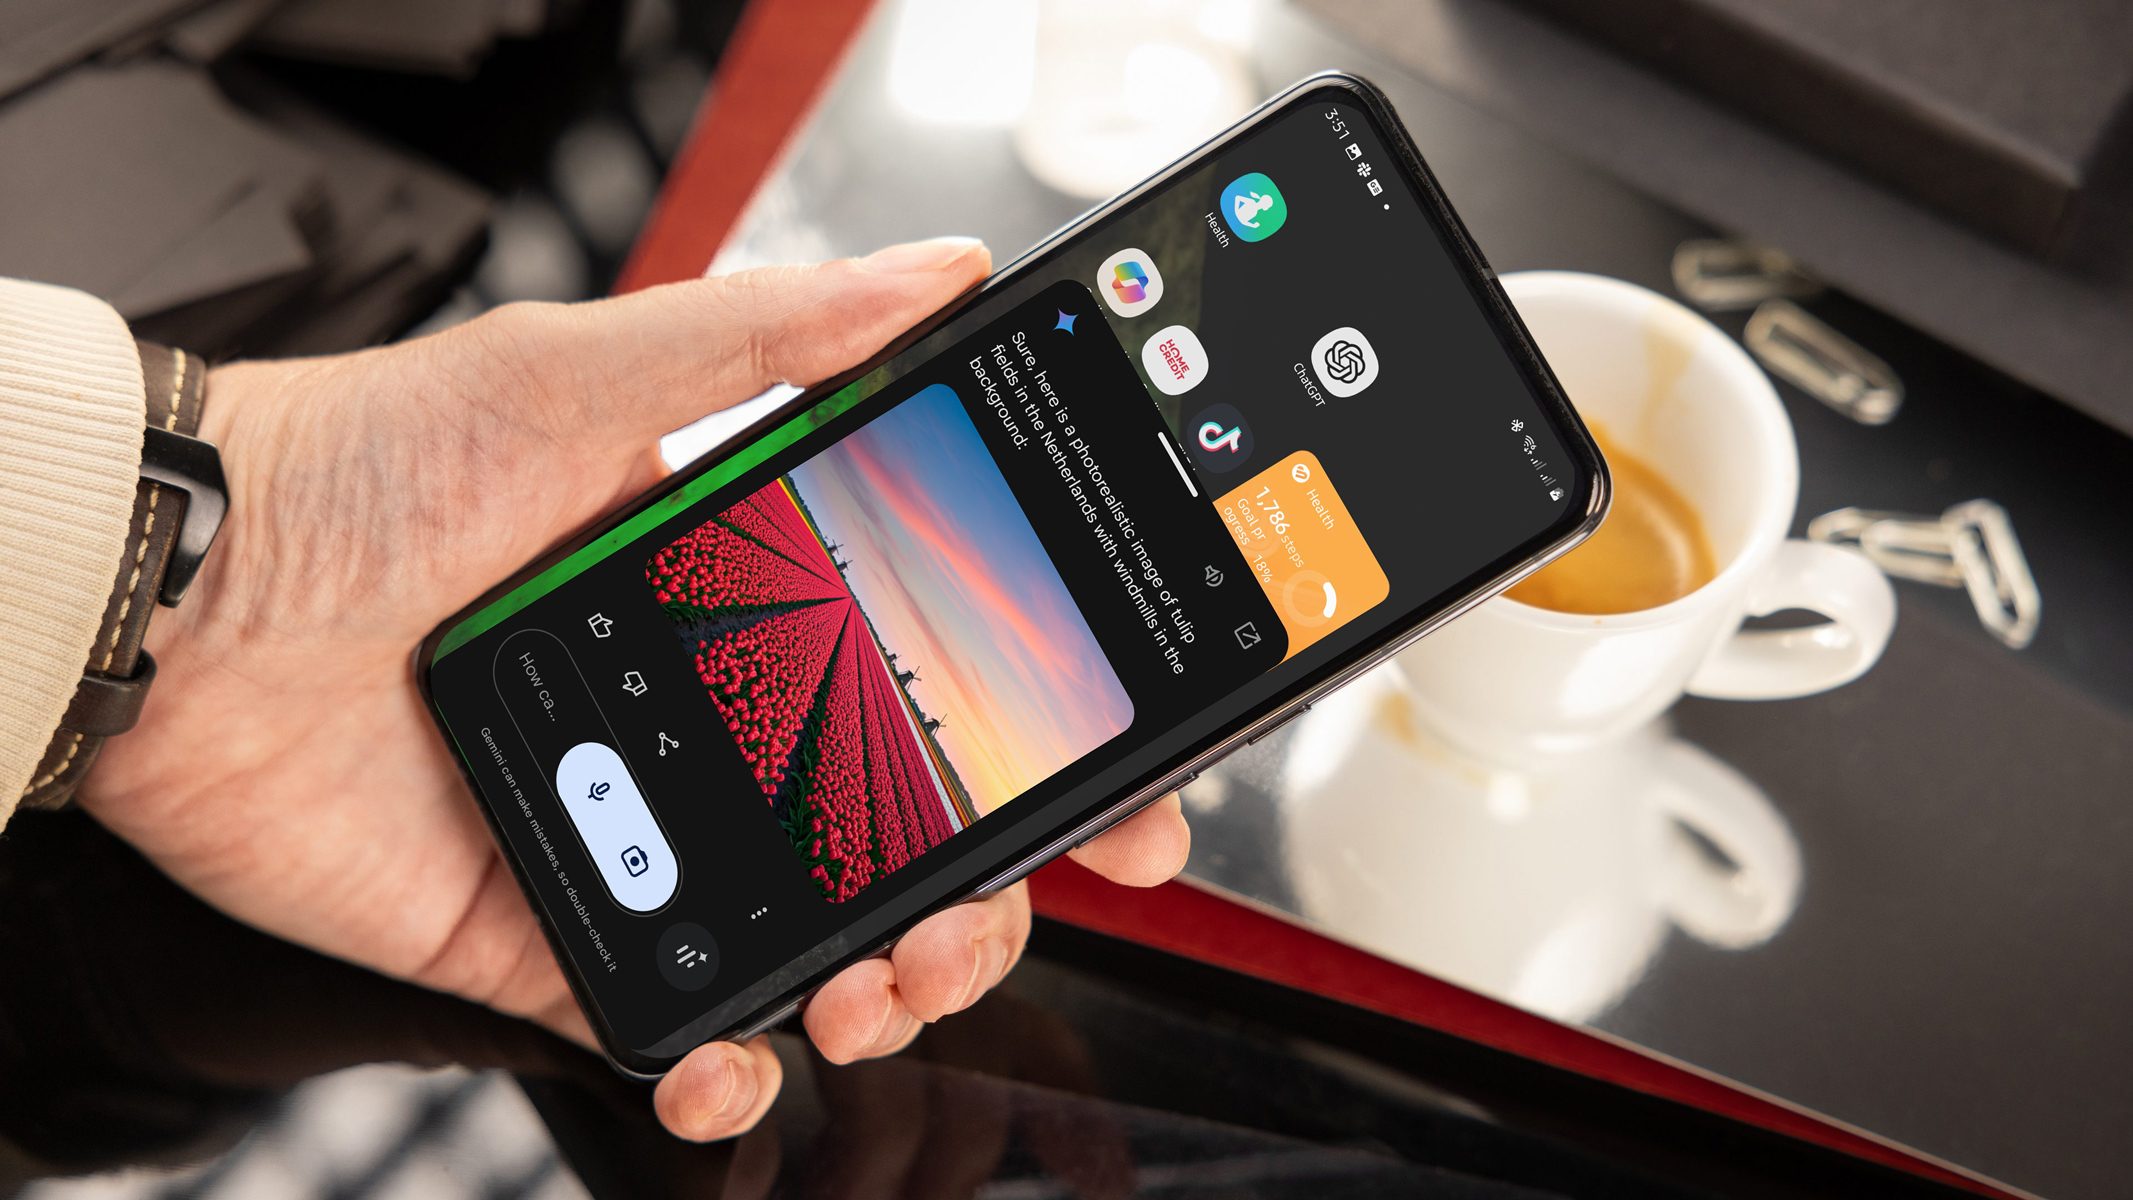
Google is rolling out Imagen 3 to Gemini free users, bringing several improvements over Imagen 2. With enhanced image quality and new styles, it’s now easier to create more detailed visuals. Here’s a simple guide to generating and saving images in the Gemini app.
What’s New
Google claims that Imagen 3 generates images with much higher quality, featuring more vibrant colors and sharper details. It also reduces artifacts and imperfections, resulting in more lifelike visuals.
In addition, Imagen 3 offers new photo styles that users can incorporate or fine-tune in their prompts. These include textured oil paintings, clay animations, illustrations, digital art, and fine textures, alongside the photorealistic option.
However, free Gemini users won’t be able to generate human images. This feature requires a premium subscription to Gemini Advanced or Business.
How to generate or create images on the Gemini app
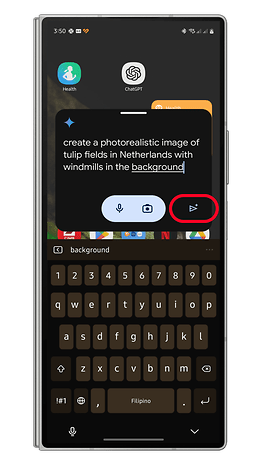
There’s no direct button for image generation, so users need to type or speak their prompt. Begin with keywords like “create,” “generate,” or “draw,” followed by specifics like styles and colors.
- Open the Gemini app on your phone.
- Type or use the mic to input your prompt.
- Hit the send button to start generating.
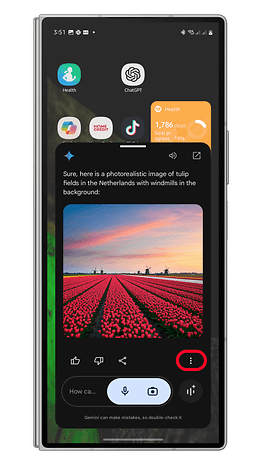
- Wait for the generation to finish and show the image.
- You can ask Gemini to refine the image.
You can keep prompts vague or detailed and include multiple objects, though the style is limited to one per image.
How to Access and Save Images from the Gemini App
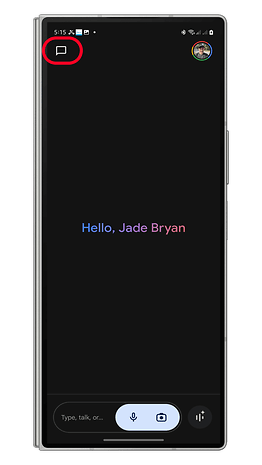
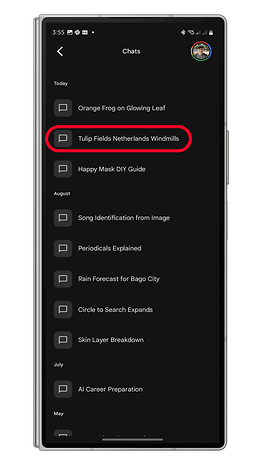
Once your image is generated, the app lets you share, convert, or save it. You can also access past images in the app’s history.
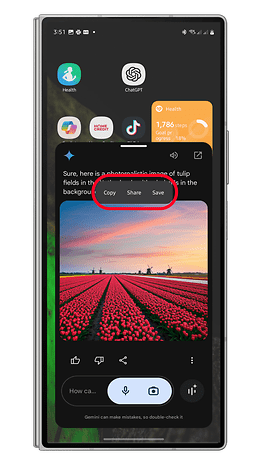
- After an image is generated, long press on it to open the pop-up menu.
- Tap the Save button to save the image into your gallery.
- There are also options to copy or share the image.
- Alternatively, tap on the more to open options to export or attach the image in Gmail.
Have you tried creating images in the Gemini app? Share your tips in the comments!
